
How To Adjust Your Exercise Bike Seat
Adjusting your exercise bike seat properly can help you optimize your workout and ensure you have the most comfortable ride every time.
Jun 21, 2022
·
6 min read

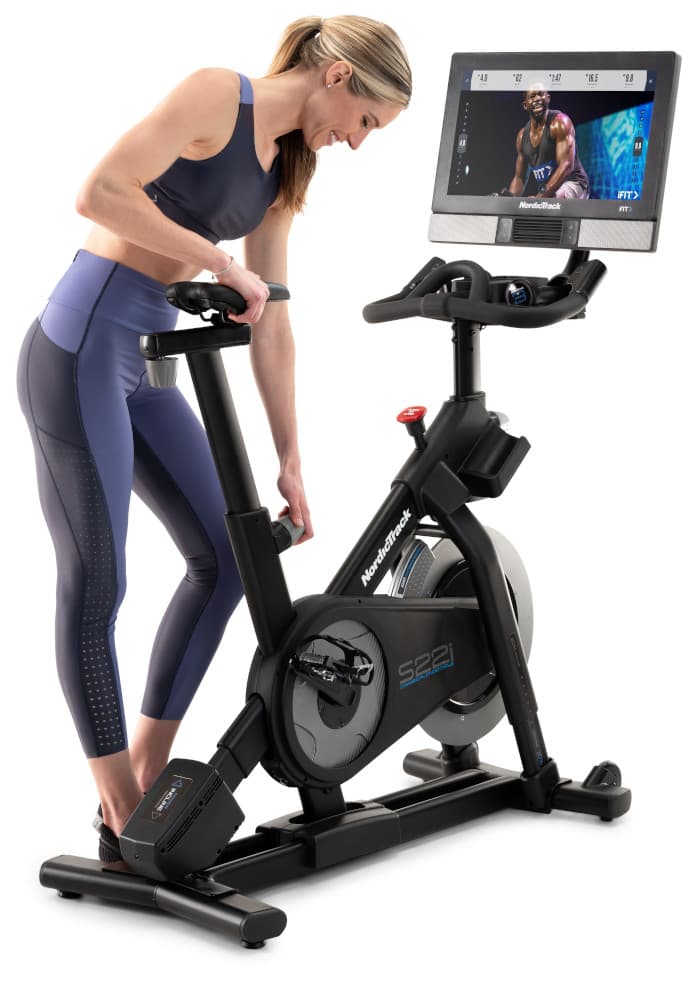
You’ve recently purchased a new exercise bike, it’s been delivered to your home, and you’ve completed the bike assembly. Now, you’re ready to jump on your bike and have a great ride, right? Hold on. In order to optimize your workout experience and ensure you have the most comfortable ride possible, you should make sure you adjust your exercise bike seat first properly. But how do you do that?
We’re sharing our bike seat assembly tips to help you make your NordicTrack bike seat adjustments correctly.
Assemble The Exercise Bike Seat
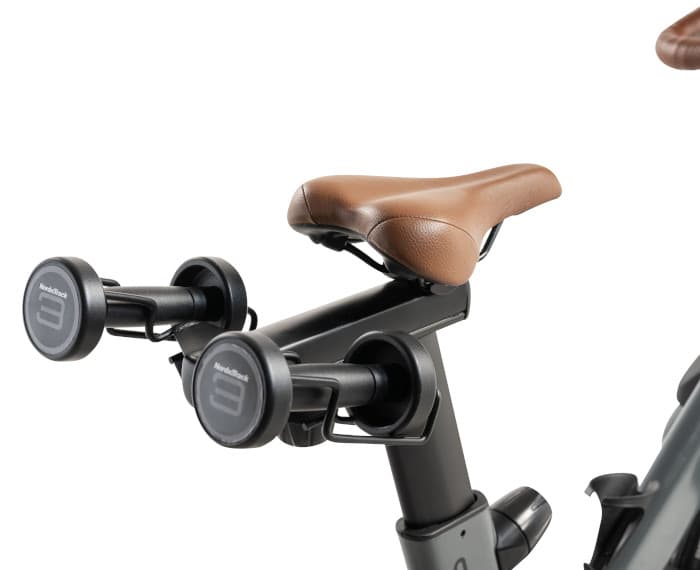
Begin by orienting the seat post to point forward. Loosen the post knob (indicated clearly in your user manual).
Next, insert the seat post into the frame and slide the seat post to your desired height.
Lastly, tighten the post knob to secure the seat in place.
It’s important to note that having an appropriate seat height has a great impact on the quality of your ride. If too high, your knees will be forced to overextend, which can potentially injure your joints, hips, or back. Too low and you risk straining your lower back and knees (2).
“But how tall should a bike be for my height?” you ask? Let’s dig deeper below.
Adjust Bike Seat Height
When it comes to how high your bike seat should be, start by standing flat-footed next to the bike to test. The most appropriate height for your bike seat should be about hip height. This is not a fool-proof method for everyone, however, it’s a good idea to check.
According to Sports Medicine, one study stated that without proper adjustments to your seat, you are at a higher risk of knee injuries and low cycling performance (2). So, it’s best to give attention to your bike seat height prior to your bike workouts.
While on your upright bike, place the ball of your foot on the pedal spindle and crank to the lowest rotation (6 o’clock position). At this position, your leg should remain slightly bent. If your leg is bent too much, the seatpost needs to be raised. If your leg is straight, the post needs to be lower.
Here’s another test: Place your heel over the pedal spindle. Your leg should be exactly straight in this position.
While on your recumbent bike, place the balls of your feet on the pedal spindle with one pedal in the farthest possible rotation (about 3 o’clock position), and you should have a slight bend in the knee. Adjust the seat to assure that your leg is at about a 25-30 degree angle in this position.
Now, to make your exercise bike seat more comfortable, wear appropriate attire or riding creams to minimize any friction during your workout. You may even find many biking shorts have additional cushioning to provide extra comfort. Standing up during your ride when you can also optimize your workout while giving your sit bones a rest.
Adjust Bike Seat Angle
Adjusting the bike seat angle should be done easily by loosening the seat clamp located directly under the seat. Only loosen the clamp enough to move the seat around to fit your personal preference.
Some female riders prefer to have the seat nose pointing slightly lower while some men may feel most comfortable with the nose raised. However, the seat should be at a neutral angle to prevent any sliding forward or backward during your ride. Using a spirit level can help.
When adjusting the seat forward and backward, place the ball of your foot on the pedal spindle again with the crank arm pointing directly forward. If your knee is directly above your pedal spindle, the seat is far enough forward. Adjust the saddle forward or backward to meet this test.
Feel free to continue to adjust these angles during your ride to find the sweet spot for you. Remember that bodies aren’t formulaic. Individual muscle tensions can cause you to prefer a lower or higher saddle height. A user with tight muscles may prefer the seat lower than a user with loose muscles. It’s completely up to you!
Change The Seat
A NordicTrack bike seat can be replaced with a compatible bike seat of your choosing. In order to change the seat, begin by tipping the seat to one side and slide one of the rails as far as possible between the lower seat clamp and the upper seat clamp.
If necessary, further loosen the M8 seat screw. Then tip the seat downward and slide the other rail between the seat clamps. Make sure that both rails are in the grooves in the seat clamps and that the seat is straight and level. Then firmly tighten the seat screw.
Mistakes To Avoid
Low Handlebars: If handlebars are too low, it can cause bad posture and pain. Leaning forward may seem comfortable at first, but is not recommended if you would like to ride more often without back pain.
Low Bike Seat: Saddles too low may result in frontal knee pain (2). If you have frontal knee pain during your ride, try raising your seat.
High Bike Seat: Saddles that are too high can cause pain behind the knee or hamstring pain from overextension. Your bike may also rock as you pedal from the extra movement required to reach the full pedal stroke.
Incorrect Seat Angle: If you have pain in your hands or forearms from riding, it could be that you have too much pressure on the handlebars due to being pushed forward on the saddle (the nose is too low).
Conclusion
Once you’ve got your bike seat adjusted properly, you’re on your way to benefiting from every bike workout you do at home. Adjusting for proper height for your body size and the proper angle for your personal comfort, you will optimize your overall exercise bike experience.
Remember, adjusting the angle of your bike seat may slightly change its height. Be sure to recheck before riding each time.
Still having bike discomfort? You may be making certain bike mistakes and not even know it. Learn about the 8 Exercise Bike Mistakes You Should Stop Now and some quick fixes that can make all the difference in your bike workouts, now and later.