Updated 09/03/2025
If you’re wondering how to use a rowing machine correctly, you’re in the right place. Rowing looks straightforward at first, but sequencing each movement in the right order is what delivers real power, efficiency, and injury prevention. Many beginners fall into one common mistake, and we’ll show you how to avoid it with a simple mantra you can repeat every stroke.
Mastering proper form maximizes your stroke volume, improves flow, and makes every workout more effective1. Learning how to use a rowing machine the right way also helps prevent injury and builds confidence as you progress.
In this guide, you’ll discover the top health benefits of rowing, the muscles it works, the biggest mistakes to watch for, and a step-by-step method to row with confidence.
The Top Health Benefits of Rowing Machines, According to Research
Rowing offers far more than just a good sweat. Studies show it can:
- Improve joint strength. A small study found that rowing three days per week for eight weeks improved the study participant’s joint strength2.
- Decrease body fat. Another small study discovered that 40 minutes of rowing done five days per week for six weeks helped visually impaired subjects significantly decrease their body fat and improve their back strength and trunk flexion3.
- Burn calories comparably to other cardio. Rowers also offer a comparable calorie burn to other cardio machines, providing an effective total body workout that builds aerobic fitness5.
Beyond these findings, rowing elevates cardiovascular fitness by raising heart rate and building endurance, making it a powerful tool for overall health.
Read more about the Top Five Health Benefits of Rowing here!
The Top Muscles Rowing Machines Work
Rowing is a rare combination of strength and cardio. Each stroke engages your legs, core, and upper body in sequence, working nearly 85% of your muscles. Key movers include:
- Lower body: quadriceps, hamstrings, glutes, calves, tibialis anterior
- Core: abdominals, obliques, erector spinae
- Upper body: lats, traps, rhomboids, deltoids, biceps, triceps, chest, forearms
This broad activation explains why rowing improves strength, posture, and stamina in one efficient workout.
Read more on The Top 16 Muscles Rowing Machines Work here!
How to Use A Rowing Machine Correctly: Step-by-Step
But correct form pays off with more power and less risk of injury. Two-time Olympic Gold Medalist Alex Gregory recommends the following sequence1:
How to Use a Rowing Machine Correctly: Step by Step
- Set up your feet.
Slide your shoes onto the footplates and adjust the heel cups so the straps cross the widest part of your feet—usually over the ball of the foot. This keeps your foot secure while still allowing the ankle to flex freely. When you slide forward to the “catch” position, your shins should be nearly vertical. If your feet are set too low, your knees push forward past your ankles and compromise your leverage. Too high, and you’ll feel cramped with limited power. Take a moment to lock in this alignment before every session—it’s the foundation of a strong stroke.
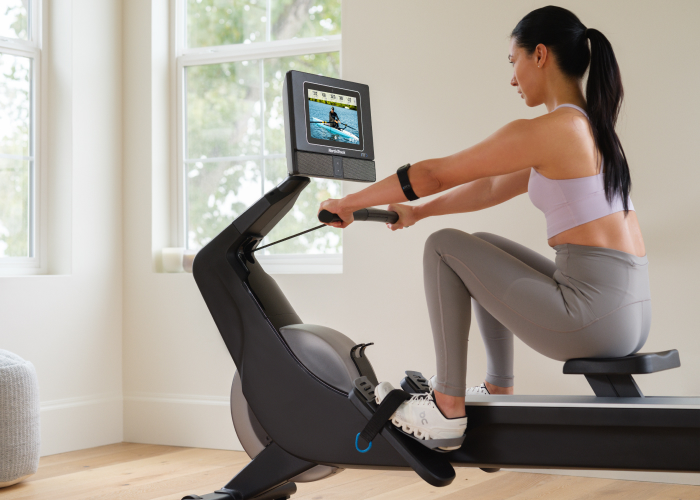
- Find the starting position
Sit tall with your weight balanced evenly on your sit bones. Brace your core gently—think about lifting your ribs away from your hips—so your spine stays neutral. Shoulders should be relaxed and low, not hunched forward. Extend your arms straight toward the flywheel, wrists flat, with a light but firm grip on the handle. This position, called the “catch,” sets you up for maximum leg drive without straining your back or shoulders. A common mistake here is rounding the back; instead, hinge slightly forward from the hips while keeping your chest open.
- Drive with your legs
The drive begins with the largest muscles in your body: your quadriceps, hamstrings, and glutes. Push firmly through your feet as if driving the machine away from you, extending your legs in a powerful motion. Once your legs are almost straight, swing your torso back slightly—about 10–15 degrees—keeping your core engaged. Finally, pull the handle into the base of your ribs, elbows close to your body. The sequence is always legs → body → arms. Think of it like cracking a whip: power starts from the ground and flows upward, finishing with the hands. Many rowers mistakenly pull with their arms too early, which limits power and fatigues the smaller muscle groups.
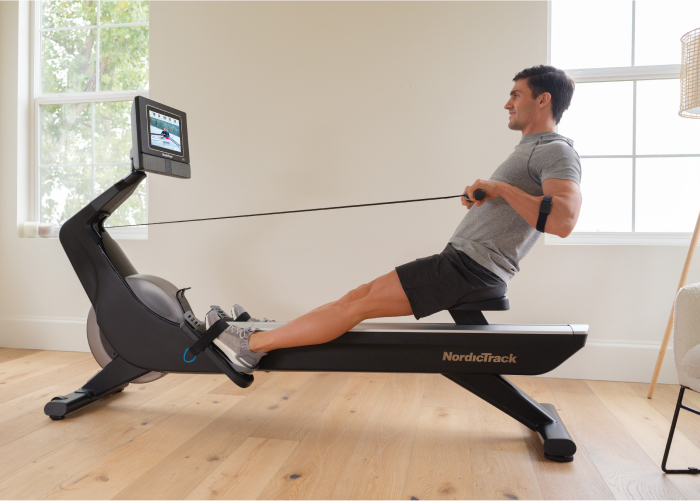
- Finish strong
At the “finish,” your legs should be fully extended but not locked, torso leaning slightly back, and handle drawn just below your chest. Your core should stay braced to support the spine, with shoulders relaxed and wrists flat. Avoid over-leaning or collapsing backward—this wastes energy and strains the lower back. Instead, imagine sitting tall and proud at the end of each stroke. The finish should feel powerful yet controlled, setting you up for a smooth recovery.
- Recover smoothly
The recovery phase is the mirror image of the drive: arms → body → legs. First, extend your arms straight ahead until your elbows are fully lengthened. Next, hinge your torso forward from the hips, keeping your back flat and core engaged. Finally, allow your knees to bend as you slide forward on the seat, returning to the catch. The key is patience—don’t rush the slide. A common mistake is bending the knees before the arms clear, which forces the handle over the knees and breaks rhythm. Instead, let the handle glide forward before your knees rise. Think of the recovery as calm and fluid, setting up the next powerful drive.
The Biggest Mistake Rowers Make
The most common form error happens during the recovery phase of the stroke. Many rowers rush to slide forward and lift their knees before the handle has cleared. When this happens, the handle has to travel awkwardly up and over the knees, breaking the smooth rhythm of the stroke and creating unnecessary tension in the arms and shoulders. Over time, this habit reduces efficiency, shortens stroke length, and can even increase strain on the lower back.
Instead, slow the movement down and follow the reverse sequence: extend your arms fully first, then allow your torso to hinge forward from the hips, and only after the hands have passed over your knees should you bend your legs and slide into the next catch. Think of this recovery as the calm before the next drive—smooth, loose, and controlled, not rushed or jerky.
Two-time Olympic Gold Medalist and iFIT Trainer Alex Gregory explains that this sequence may feel awkward at first, especially if you’re used to rowing incorrectly1. But with consistent practice, the mantra arms → body → legs becomes second nature. Rowers who adopt this flow notice their strokes become longer, their transitions smoother, and their workouts more efficient. Mastering this one adjustment can unlock more power from your legs, reduce wasted effort, and make rowing feel fluid and effortless.
What Resistance Should I Use on a Rowing Machine?
It’s a question nearly every new rower asks: what should I set the resistance at? On most rowers, this is controlled by either a damper (like the Concept2) or a digital resistance setting. While it might feel natural to crank resistance all the way up, that approach doesn’t lead to the best workouts for most people.
Alex Gregory explains that even at the elite level, 99% of training was done with the damper set around 4 or 5—moderate resistance that allows the stroke to stay flowing and free1. This “sweet spot” balances strength and endurance, letting your muscles work at a productive speed while also training your aerobic system. With resistance too high, the stroke becomes heavy and sluggish, leading to shortened movements and quicker fatigue. With resistance too low, you lose the connection to your legs and core and miss out on building power.
Think of resistance as a way to tailor the workout to your goals:
- For strength-focused sessions: Higher resistance (closer to the top of the range) increases muscular demand and can help you build power, but should be used sparingly and for short intervals.
- For endurance and general fitness: Moderate resistance allows you to sustain longer sessions, maintain proper sequencing, and build cardiovascular conditioning. This is the zone where most people should spend the majority of their time.
- For technique practice: Lighter resistance can be helpful while you’re learning form, since it lets you focus on the movement pattern without being overwhelmed by load.
The key is to find the resistance where you can maintain smooth, efficient strokes while still feeling challenged. You should be able to row for 15–20 minutes without losing rhythm or relying too much on your arms. Over time, you can vary the resistance within workouts—for example, mixing short high-resistance intervals with longer steady rows at moderate resistance—to keep training balanced and engaging.
How Long Should You Row For?
The ideal rowing duration depends on your fitness level, goals, and even factors like age, injury history, and daily schedule. There’s no single “right” answer, but there are smart guidelines that can help you build consistency.
If you’re a beginner: Start with short sessions of 5–10 minutes. These workouts are long enough to elevate your heart rate and let you practice form without overwhelming your muscles or joints. In this phase, focus less on speed or distance and more on mastering the rowing sequence—legs, body, arms on the drive; arms, body, legs on the recovery. Short, consistent practice is far more valuable than one exhausting session followed by days of soreness.
As you gain experience: Progress to 15–20 minutes per session. Research and elite coaches like Alex Gregory note that even 20 minutes of rowing at proper form provides impressive cardiovascular and muscular benefits1. At this stage, you’ll begin to feel how rowing builds both strength and endurance. You may also notice improvements in posture, stamina, and calorie burn.
For general fitness: Aim for three to five sessions per week, each lasting 20–30 minutes at a steady, sustainable pace. This routine mirrors the training structure used by many endurance athletes and is an effective way to support heart health, maintain a healthy weight, and develop total-body strength.
For weight loss or endurance goals: You may extend sessions to 30–45 minutes, provided you maintain good form. Longer rows allow you to stay in a fat-burning aerobic zone, but they should be increased gradually to avoid overuse injuries. Pairing longer rows with iFIT’s scenic or trainer-led programs can keep these workouts engaging and sustainable.
For high-intensity interval training (HIIT): Even 10–20 minutes can be enough. Short bursts of intense effort followed by recovery intervals maximize calorie burn and cardiovascular gains in less time. HIIT rowing is especially useful if you have a busy schedule but still want effective results.
No matter your goal, the biggest key is consistency. Rowing a few times each week—even at shorter durations—creates lasting improvements when compared to occasional marathon sessions. Start where you are, build gradually, and let your fitness grow over time.
Try iFIT Rowing Workouts
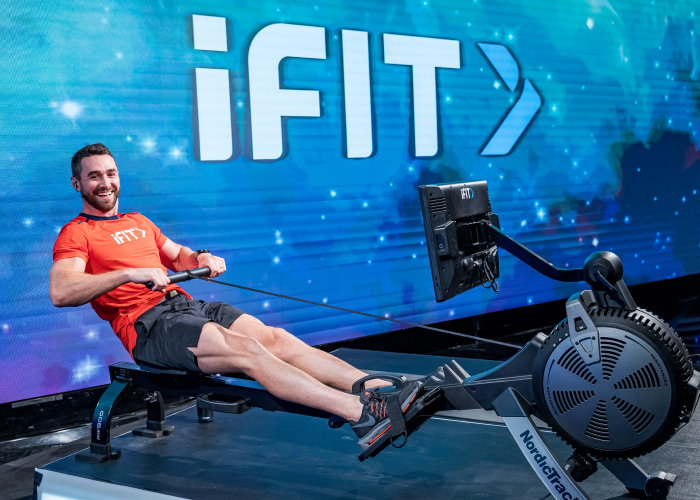
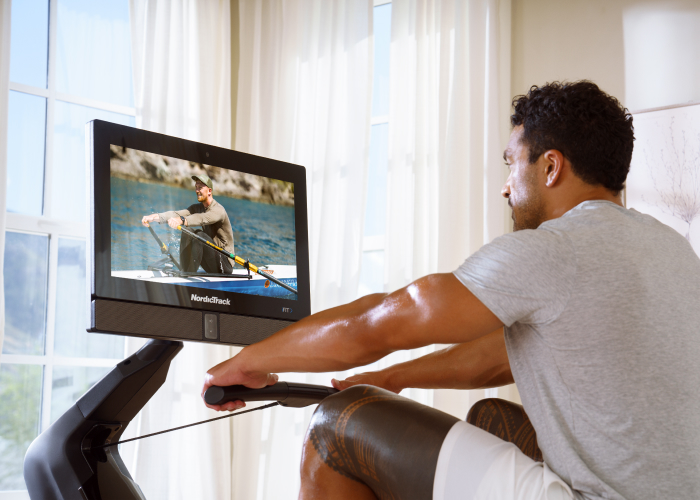
Looking for motivation, technique guidance, or scenic experiences? iFIT (a separate paid subscription) offers thousands of rowing workouts led by Olympians and elite trainers.
- 20-Minutes to Toned with Alex Gregory
- English Channel Endurance Series with Alex Gregory
- England Performance Series with Alex Gregory
- Row at Home Series with Alex Gregory
- Glacier Beginner Rowing Series with Susan Francia and Stesha Carle
- Shred and Burn Series with Gideon Akande
- Pure Rowing for Beginners Series with Nicole Vogel
You can also join challenges like iFIT Races powered by Ergatta, an interactive way to compete in real time.
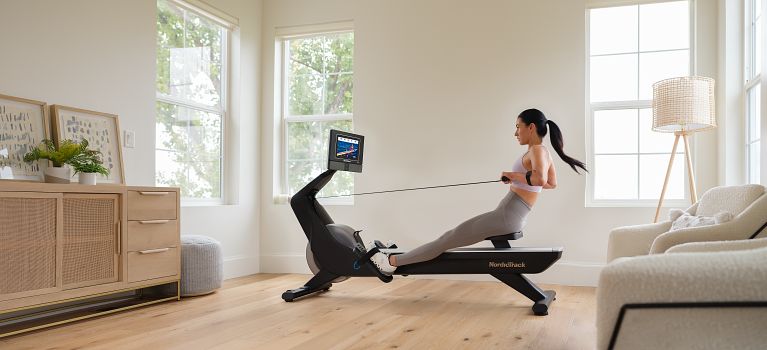
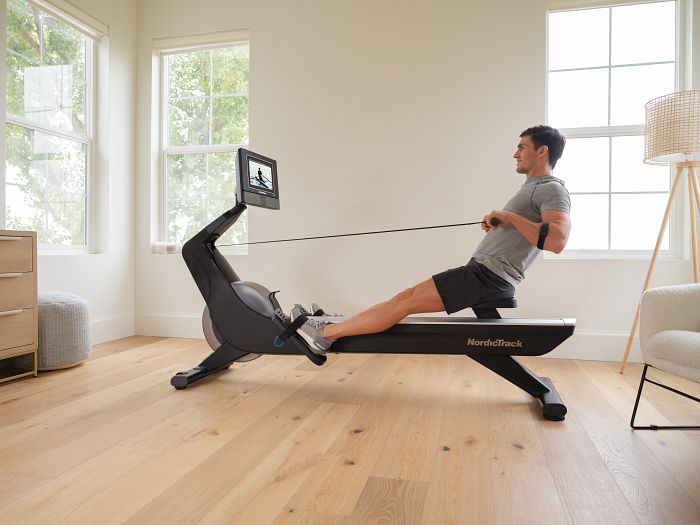
NordicTrack Rowers to Try
When you’re ready to practice proper form, explore the current NordicTrack lineup:
- RW900 Rower — 24” HD touchscreen, SmartAdjust, premium design
- RW700 Rower — 10” HD touchscreen, ergonomic build, compact footprint
These machines pair seamlessly with iFIT to deliver immersive coaching and global workouts.
Row with Proper Form Today
Rowing delivers one of the most efficient total-body workouts you can do. When you learn to use a rowing machine correctly, each session feels smoother, more powerful, and more rewarding.
Keep the mantra in mind: legs → body → arms on the drive; arms → body → legs on the recovery. With steady practice, this rhythm becomes second nature—turning every workout into a chance to build strength, stamina, and long-lasting results.
Frequently Asked Questions About Rowing Machines
The correct sequence is legs → body → arms on the drive and arms → body → legs on the recovery. Think of pushing with your legs first, swinging your torso back slightly, and finishing with the arms. On the return, reverse that order to keep your strokes smooth and efficient.
Many people bend their knees too soon on the recovery. This forces the handle over the knees, breaking the stroke’s flow. The fix: extend your arms and hinge forward before bending your legs.
For general fitness, a moderate setting is best. It allows you to row with good rhythm and endurance. Higher settings can be used occasionally for strength, but most workouts should stay in the middle range.
Start with 5–10 minutes to learn the movement. As you build consistency, progress to 15–20 minutes. Even short sessions provide great cardio and strength benefits when your form is correct.
Rowing engages your legs, core, and upper body in every stroke. Key muscles include your quadriceps, hamstrings, glutes, back, shoulders, arms, and abdominals.
Rowing does both. The pushing and pulling phases recruit large muscle groups for strength, while the continuous rhythm challenges your heart and lungs for cardio endurance.
Absolutely. Research and elite coaches note that even 20 minutes of steady rowing can improve cardiovascular fitness and muscular endurance. Consistency is the key to results.
Programs like iFIT rowing workouts bring expert trainers, scenic waterways, and structured interval sessions right to your machine. You can also take part in iFIT Races powered by Ergatta, an interactive way to challenge yourself against others in real time. These options keep your workouts fun, immersive, and motivating.
Rowing provides a total-body, low-impact workout that complements treadmills, ellipticals, and bikes. If you want to see a detailed comparison, check out our guide on how different cardio machines stack up.
References
- YouTube: Alex Gregory for Herring – introduction to rowing
- National Library of Medicine: Comparative analysis of basal physical fitness and muscle function in relation to muscle balance pattern using rowing machines
- National Library of Medicine: Effects of Indoor Rowing Exercise on the Body Composition and the Scoliosis of Visually Impaired People: A Preliminary Study
- CDC: LDL and HDL Cholesterol and Triglycerides
- AFPA: A Quick and Easy Guide to Indoor Rowing Machines
Disclaimer: The primary purpose of this blog post is to inform and entertain. Nothing on the post constitutes or is intended to be a substitute for professional medical advice, prevention, diagnosis, or treatment. Reliance on any information provided on the blog is solely at your own risk. Always seek the advice of your physician or other qualified health provider with any questions you may have regarding a medical condition, and please consult your doctor or other health care provider before making any changes to your diet, sleep methods, daily activity, or fitness routine. Do not disregard professional medical advice or delay seeking it because of information available on this blog. NordicTrack assumes no responsibility for any personal injury or damage sustained by any recommendations, opinions, or advice given in this article. Always follow the safety precautions included in the owner’s manual of your fitness equipment.