If you’re wondering how to use a rowing machine correctly, you’ve landed on the right article.
While it seems straightforward to sit on a rower, pull the handlebar towards your chest while pulling your entire body back, and then reverse the order to return to the starting position, there’s more to it than that.
In addition, many rowers unknowingly make one common mistake, which we’ll also discuss.
We’ll even share a helpful mantra you can repeat on each row to keep your form on point.
Perfecting your rowing form ensures you maximize your power and stroke volume. [1]
It also increases your efficiency and flow and ensures you get a great rowing workout. [1]
That’s why it’s crucial to get it right, and this guide will show you how.
Here’s a peek at everything we’ll discuss:
- How Do You Use a Rowing Machine?
- The Top Health Benefits of Rowing Machines
- The Top Muscles Rowing Machines Work
- The Biggest Mistake Many Rowers Make
- What Resistance Should I Use on a Rowing Machine?
- How Long Should You Row For?
- Interactive Rowing Workouts
Feel free to use those links to jump to the sections that matter most to you.
We encourage you to read the entire article to learn the top health benefits of rowing, which muscles rowing machines work, and so much more.
Let’s get to it, starting with:
The Top Health Benefits of Rowing Machines, According to Research
Before we get into how to properly use a rowing machine, it’s helpful to know that there are several great reasons to do so.
As we explored in a previous article on the health benefits of rowing machines, consistently rowing may provide the following perks:
1. Improved joint strength. A small study found that rowing three days per week for eight weeks improved the study participant’s joint strength. [2]
2. Decreased body fat. Another small study discovered that 40 minutes of rowing done five days per week for six weeks helped visually impaired subjects significantly decrease their body fat and improve their back strength and trunk flexion. [3]
3. Comparable calorie burn. Rowers also offer a comparable calorie burn to other cardio machines, providing an effective total body workout that builds aerobic fitness. [4][5]
And that’s just the beginning of their health benefits, as mentioned in that article.
They’re also great for improving cardiovascular fitness since they get your heart pumping and increase your heart rate.
To learn more about those health benefits in-depth, we encourage you to read that article when you’re done with this one.
Another huge perk of rowing is that it activates several muscles in your upper body, core, and lower body, as you’ll see next.
The Top Muscles Rowing Machines Work
Thanks to the pulling motion of the handlebar, each rowing workout is a powerful combination of strength training and aerobic exercise, working your upper back, shoulders, biceps, triceps, and chest muscles.
In a previous article we published on The Top 16 Muscles Rowing Machines Work, we shared that the following muscles are worked and activated during a rowing session:
- Biceps
- Deltoids
- Erector spinae
- Forearm muscles
- Gastrocnemius
- Gluteus maximus
- Hamstrings
- Latissimus dorsi
- Obliques
- Pectoral
- Rectus abdominis
- Rhomboids
- Tibialis anterior
- Trapezius
- Triceps
- Quadriceps
We also discuss whether you can build muscle using a rowing machine, how many calories the average person burns rowing, and more in that article.
That’s why we encourage you to check out that article when you’re done here.
Now that you know more about the health perks of rowing and the muscles it engages, let’s dive into why you’re really here:
How to Use Rowing Machines Correctly: A Step-by-Step Guide
Like treadmills, ellipticals, and exercise bikes, rowing machines seem straightforward. However, it pays to learn how to use them properly to get the maximum benefits and performance out of them.
Here’s what you need to know to do just that, as explained by two-time Olympic Gold Medalist Alex Gregory in this YouTube video:
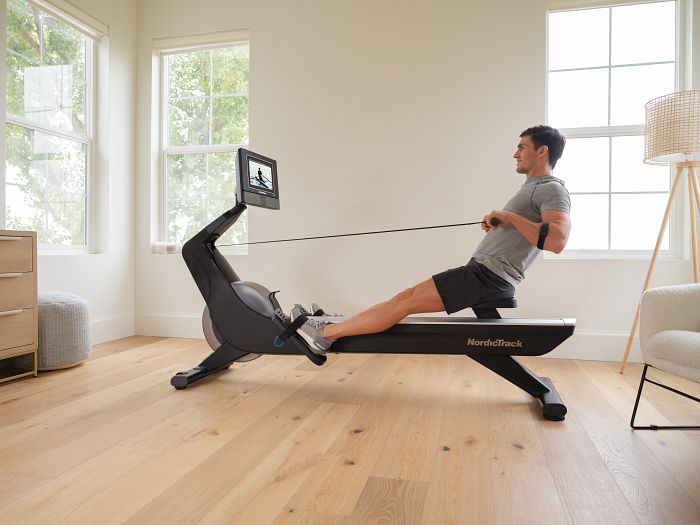
Step 1: Ensure You’re Properly Set Up from the Start
No matter what rowing machine you use, the fundamentals are the same.
First, you’ll want to slide your feet onto the pedals.
Before you adjust the foot straps and begin rowing, check your form. When you slide forward, your shins should be in a vertical position.
If your feet are too low on the pedals, you’ll be too far over a vertical position, which will cause you to lose the proper stroke form.
However, you won’t get that ideal vertical position if you’re too high.
To prevent those issues from happening, adjust the foot sliders up and down to ensure you’re in the proper vertical form.
Once you achieve that perfect sweet spot, tighten the straps to lock your feet into position.
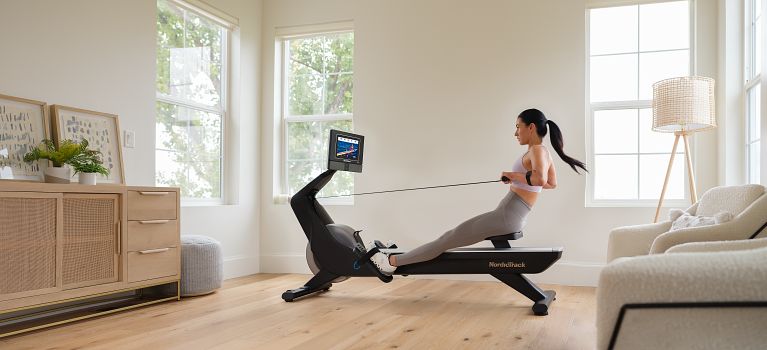
Step 2: Settle into the Starting Position
Next, with your shins vertical, begin engaging and strengthening the lower part of your back while keeping the rest of your body relaxed and comfortable.
Settle into this starting position as you reach for the handlebar and start the rowing stroke.
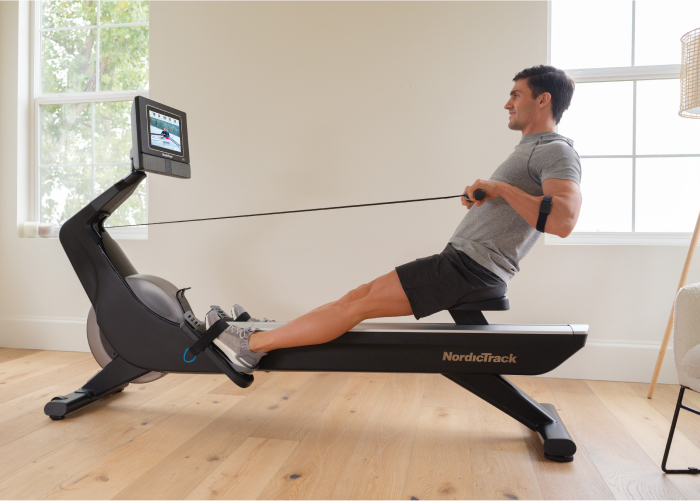
Step 3: Initiate the Next Movement with Your Legs
Your first big movement should use the power and force of your legs, including activating the large muscles in your legs, such as the quadriceps, hamstrings, and glutes.
You’ll push through your feet, bringing your legs down flat.
Once your legs are in this position, bring in the rest of your body to finish the stroke.
So you’ll bring your arms in after the legs are comfortably in that flat position.
The sequence looks like legs, body, and then arms.
The movement should be smooth in that sequence, and you’ll want to create a long, strong stroke.
Think about accelerating with the legs and finishing with the arms.
Since your arms are not as strong as your leg muscles, use them to finish the stroke versus having them take the brunt of it.
You’ll have more power leading with the legs.
Step 4: Finish Strong
At the Finish position, you’ll pull the handlebar past the 90-degree angle and fully extend your legs (they’ll still be slightly bent).
The important point to remember here is that you don’t want to lean back too far or over the handlebar.
Instead, finish with a strong lower back and a comfortable position while creating that long, strong stroke.
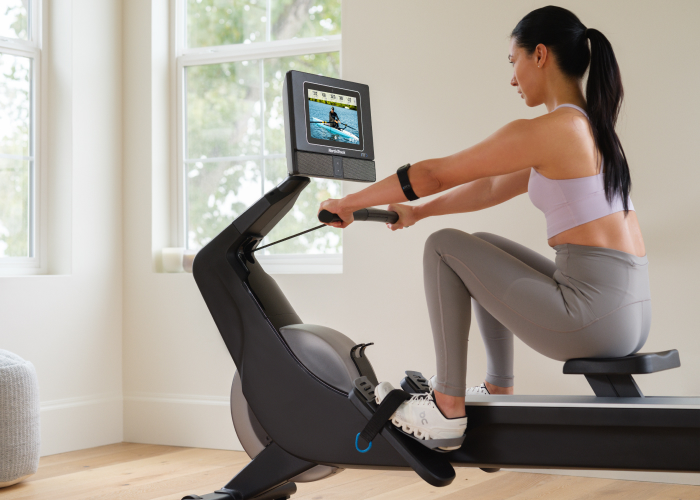
Step 5: Reverse Back to the Recovery Position
You’ll reverse the movement from the Finish position to the starting stroke.
That looks like moving your arms, body, and legs in that specific order.
It’s exactly backward from step three.
Many unknowingly make a common rowing mistake at this specific step, which we’ll explore next.
Before we do, it’s essential to understand that keeping this proper form with each row ensures you maximize your power and stroke volume. [1]
It also increases your efficiency and flow and ensures you get a great rowing workout. [1]
So it’s crucial to get that sequence right.
To help you do just that, we’ll discuss one more crucial piece of the puzzle:
One of the Biggest Rowing Mistakes Many People Unknowingly Make
One of the most critical points and mistakes two-time Olympic Gold Medalist and iFIT Trainer Alex Gregory sees and mentions in his YouTube video that many people make happens on the movement back to the starting position.
Often, people rush to get back to the starting position, and they move their legs first. By doing this, your hands are stuck, and you have to bring them over your knees.
This mistake reduces the stroke’s efficiency and the movement’s flow.
You want your flow to be loose and relaxed as you slide forward.
To adjust this, let your arms come over your knees first as you bring your body in. Then, bend your knees once your hands have cleared them.
That means you should only allow your knees to come up once your hand is over your knees.
Keep that reverse sequence in your mind and use it as your mantra on the return: arms, body, then legs.
This sequence may initially feel weird and awkward, especially if you’re used to doing it incorrectly.
It will start to feel natural in no time with enough consistent practice.
By making this critical adjustment, you’ll get more out of your body and the rowing machine. You’ll also reap the full benefits of moving in that sequence, which is why it’s so crucial to get it right.
Take your time practicing this, and remember to keep your strokes long, loose, and flowing as you do.
The biggest takeaway from this message is: don’t bring your knees up before your hands are over your knees on the way forward.
Remember this point, and you’ll flow beautifully and effortlessly.
Now that you have an understanding of the proper rowing form, let’s move on to another common question that comes up:
What Resistance Should I Use on a Rowing Machine?
A quick Google search shows that this question often comes up with rowing machines, along with others like:
- How much resistance do you want on a rowing machine?
- What should you set the flywheel on?
As Alex Gregory mentions in that same YouTube video, “If you’re specifically working on strength, then yeah, whack it up to a 10, and it’s a resistance workout.”
He continues, “But, actually, 99% of what we did when we were preparing for the Olympic Games was to have it on 4 or 5, where it was moderate resistance that allowed us to move flowing and free and allowed our muscles to move at a good and productive speed. It creates an aerobic and strength-based workout, allowing us to flow and stay on the machine for a longer period of time.”
So, for the average rower looking to get in shape or improve overall fitness, it’s not about how high the resistance is; instead, it’s more about finding the sweet spot where you can comfortably row for longer durations.
If you’re wondering – can you get in shape by rowing? Or how long does it take to see results from rowing? We encourage you to check out those articles when you’re done here.
The last key point we want to touch on here includes:
How Long Should You Row For?
The answer to that question depends on several factors, many of which are individual to you.
Things like your age, how in shape you are to begin with, how rowing feels for you, whether you’re dealing with previous injuries, and more can influence that answer.
However, Alex Gregory mentions in that same YouTube video that even just 20 minutes on a rowing machine can yield incredible benefits.
And, as he continues, you don’t have to push hard. Moving in that proper rowing sequence for 20 minutes will give you a great workout.
Starting with five to 10 minutes of rowing may be all you need to get your heart rate up and feel the benefits of rowing.
You can work up to 15 to 20-minute rowing sessions with consistent practice.
One great option that can make your rowing workouts more enjoyable is:
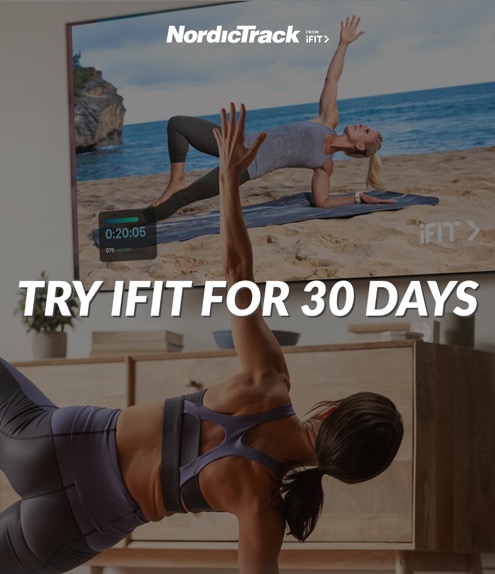
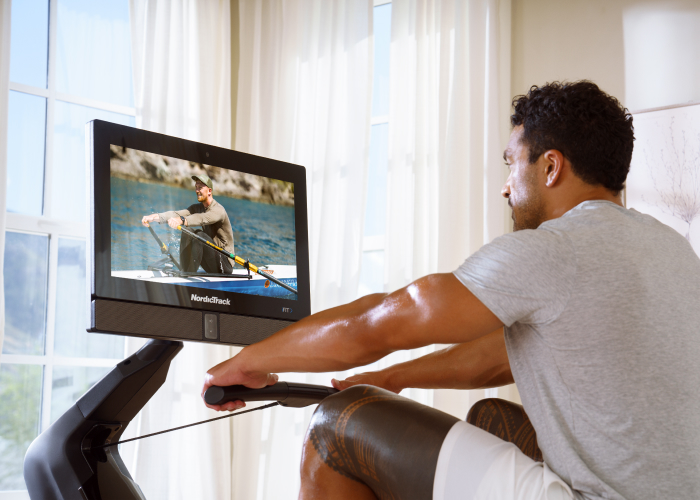
Try iFIT Rowing Workouts
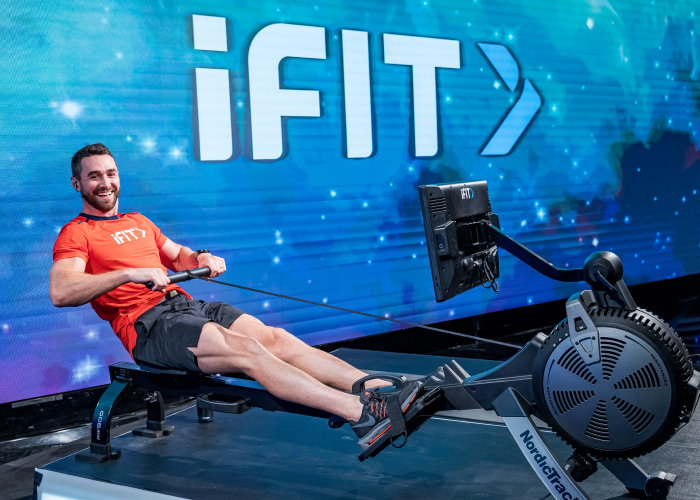
If you’re looking for more rowing technique tips or you want to try virtual rowing workouts, check out iFIT, a separate paid subscription service that features thousands of great on-demand workouts on and off rowing machines.
You can also row virtually alongside some of the top rowers and Olympic athletes in the world with iFIT.
For example, row with two-time Olympic Gold Medalist and five-time World Rowing Champion Alex Gregory or with two-time Olympic Medalist Susan Francia, who is also a five-time World Rowing Champion in one of their series below:
- 20-Minutes to Toned with Alex Gregory
- English Channel Endurance Series with Alex Gregory
- England Performance Series with Alex Gregory
- Glacier Beginner Rowing Series with Susan Francia and Stesha Carle
Or you can check out some other great rowing workouts from iFIT, including:
- Zambia Beginner Rowing Series with James Stephenson
- Zambia Endurance Rowing Series with Micheen Thornycroft and Desmond Nanchengwa
- Row at Home Series with Alex Gregory
- Shred and Burn Series with Gideon Akande
- Pure Rowing for Beginners Series with Nicole Vogel
Give iFIT a try today, and you can row around the world right from home.
Row with Proper Form Today
Now that you know how to row with proper form, all that’s left to do is hop on a rower.
When you do, keep the mantra legs, body, arms in mind as you extend out in your rowing position and return with the mantra arms, body, legs on the way back. With enough consistent practice, you’ll begin to perfect your rowing form in no time.
If you’re starting with rowing, consider trying iFIT. It’ll help you learn more rowing techniques and take you on scenic rows around the world.
And if you don’t own a rower yet, you can browse our latest NordicTrack rowing machine models by clicking any of the links below:
With what you’ve just learned, you’ll be able to reap all the benefits of rowing machines thanks to having that perfect form down pat. And you can enjoy your rowing workouts and your new fitness journey ahead.
References
- https://www.youtube.com/watch?v=1x003Oxl88Q&t=264s
- https://pubmed.ncbi.nlm.nih.gov/25226943/
- https://www.ncbi.nlm.nih.gov/pmc/articles/PMC4564707/
- https://www.cdc.gov/cholesterol/ldl_hdl.htm
- https://www.afpafitness.com/blog/a-quick-and-easy-guide-to-indoor-rowing-machines/
Disclaimer: This blog post is not intended to replace the advice of a medical professional. The above information should not be used to diagnose, treat, or prevent any disease or medical condition. Please consult your doctor before making any changes to your diet, sleep methods, daily activity, or fitness routine. NordicTrack assumes no responsibility for any personal injury or damage sustained by any recommendations, opinions, or advice given in this article. Always follow the safety precautions included in the owner’s manual of your fitness equipment.